Monday, November 11

Gobble Gobble!

This is too dang cute... made from the Sizzix Gift Bow die... a little turkey treat cup!


Made by Melissa Davies
It is super-easy to create him!
Use #2 and # 4 from the Sizzix die
as well as a few extra punches.


1. Begin by cutting one (#2) and one (#4) of the following colors: Cherry Cobbler, Pumpkin Pie, Crushed Curry, Garden Green and Cajun Craze to create the feathers.

2. Adhere the two pieces of each color together.

3. Cut one (#2) and two (#4) to create the body and wings.

4. Punch (2) 1" circles in Whisper White.

5. Punch (2) 3/4" circles in Basic Black.

6. Punch (1) Modern Label in Cherry Cobbler. Cut in half.

7. Fold a small piece of Pumpkin Pie and punch with the wing of the Bird Punch.

These little guys can be used for treat cups (as shown), decorations, party favors and more!


Friday, November 8

Simple Variations on Thinlit Theme

I'm loving the new Thinlits Card dies... aren't you? Here's some great ideas from Lyssa Zwolanek displayed on her blog:

IMG_2344
You can start with a basic card and adjust to make one with extended panel... so it more than doubles the usable writing space on the inside of the card.... see directions at end of blog

IMG_2345

Yes another option, the basic card can be used with the flip-fold at the top or bottom of the card, or the card can be turned on it's side, as shown below.

IMG_2355
 
Isn't this a great color scheme? I love it. Primrose Petals, Crisp Cantaloupe, Raspberry Ripple and Blushing Bride with Pear Pizzazz. Can't beat that adorable Crisp Cantloupe ruffled trim, either!
 
There's an easy technique for lining either the whole card or a part of it with patterned papers. Just tape it to the cardstock before running through the Big Shot. Just don't tape down the "circle" edge of the card.

IMG_2352
 
Here's a list of the stuff you'll need to if you want to make these cards.
 
Circle Card Thinlit Die
2 1/2 inch circle punch
Stippled Blossoms Stamp Set
Blessings from Heaven Stamp Set
In Color Design Series Paper
Crisp Cantaloupe 3/8" Ruffle Stretch Trim
Basic Pearls Jewel Accents
 
 
You can extend the normal length of the back panel of the card so that it is long enough to fold over and tuck back under the flip-flop part, by cutting your cardstock slightly less than 5.5 inches tall. The length should remain the normal 8.5 inches of a regular card.
 
IMG_2223

The slightly decreased height will enable to you to pull the cardstock through the die so the right hand edge of the card is actually sitting on top of the die and sticking out, as shown above. Run it through the Big Shot like normal, with the new Magnetic Platform, or with the Multipurpose Platform with all tabs closed.
 
IMG_2224

When it comes out, you'll see how that extended panel did not get cut off by the die--but it perfectly scored and just the right length to fold over.
 
Congratulations!
You now have a flip-fold card that's much
larger and has more interior writing space!

Thursday, November 7

Grateful Bags of Kisses!

I'm so ready for this wonderful Fall weather and all that it brings! It's a great time of year to sit and reflect all that we are so very thankful for... and just to let you know that YOU are on my list! God has blessed me with such an amazing family and wonderful friends.... I am truly grateful!

Here's some darling muslin bags filled with Hershey kisses and decorated with some adorable Fall leaves...


P1050771


P1050772

Such a darling little token of gratitude
we can all make for those we love!

Wednesday, November 6

Easy Porthole Flip Card

OK you're gonna absolutely FLIP for this Porthole FLIP card... Lyssa Zwolanek lays out the entire free photo tutorial on her blog:

 
Here's a free photo tutorial featuring the Circles Card Thinlits for the Sizzix Big Shot. I'm calling it a porthole flip-fold card, for obvious reasons... basically there's a window that goes all the way through to the back of the card. This would be really cool to use with our Clear Translucent Envelopes!
 
 
IMG_2350
 
Here's the card, opened... you can see the basic Circles Card Thinlit base, with extra openings. It's waaaaaay easier than you'd think, actually! So uncomplicated, actually, that you could mass-produce these quite easily. Maybe with a snowflake in the center for Christmas?


To begin, you'll need the following: 6x6 cardstock, or a 5.5x8.5 inch regular card base (either one works). You'll also need a coordinating color of scrap cardstock for the porthole. I used Blushing Bride for the base, with Primrose Petals as my darker color. You will also need the Circles Card Thinlit die as well as the Circle Collection Framelits. The Magnetic Platform for the Big Shot is super nice and practically foolproof; however, you can just use the Multipurpose Platform that came with your machine, if you don't own the Magnetic Platform yet.
 
You'll also need Baker's Twine, Mini Glue Dots, and some sort of punch or embellishment to hang in the porthole (I used the Buttefly Punch and the Small Butterfly Punch, with some Basic Pearls for accent).
 
Oh wait! We can't start without one last thing. Be sure to grab a handfull of chocolate, just in case. Chocolate always makes photo tutorials go more smoothly. I think it's so important to have the correct tools, don't you?
 
Start by cutting your basic Circle Card Thinlet die cut on the Big Shot. Take the card out and fold on the score lines like you normally would.
 
IMG_2400
Use the Circles Collection Framelits circle that is the fourth out from the center--start with the smallest circle and count up four sizes. That will be the perfect size for a generous window, without being so large that the remaining cardstock gets flimsy. With the card CLOSED, run it through the Big Shot again with this fourth circle centered in the circle window of the card.
 
IMG_2401
It will cut not only the window in the flip-fold part, but also carve out a half-moon shape from the back of the card. That's what will cause your porthole to go all the way through the card. Cute!
 
Next we're going to cut two circular frames to go around the front and back of our porthole. Use the fourth and fifth sized Circles Collection Framelit--remembering to count from the center, smallest circle.
IMG_2403

IMG_2404
With the leftover circles from the insides, I punched out two large and two small butterflies. Cut a piece of Baker's Twine, linen thread or clear fishing line about four inches long. Use the Mini Glue Dots to stack your punches and adhere them firmly to the twine.
 
IMG_2405

IMG_2406
Use the Mini Glue dots to stretch the twine tautly between the top and bottom middle of your porthole. The more snugly you can pull it, the more spin you'll have for your butterfly. When you have it how you want it, trim off the excess twine from the top and bottom.
 
IMG_2407
Use the circular frames you cut earlier to cover the glue dots and twine ends, front and back, to provide a nice, finished look to your porthole. Then, finish the card by embellishing and stamping however you'd like.
 
 
Now don't you wish you had the
Thinlits Circle Card die andMagnetic Platform???
Well.. whatz ya waiting for..... call me and we'll get it ordered!
 

Tuesday, November 5

Fall Festival Finale!

Wanted to finish up showing you some final shots featuring our Fall Festival... (whew, say that fast four times)...
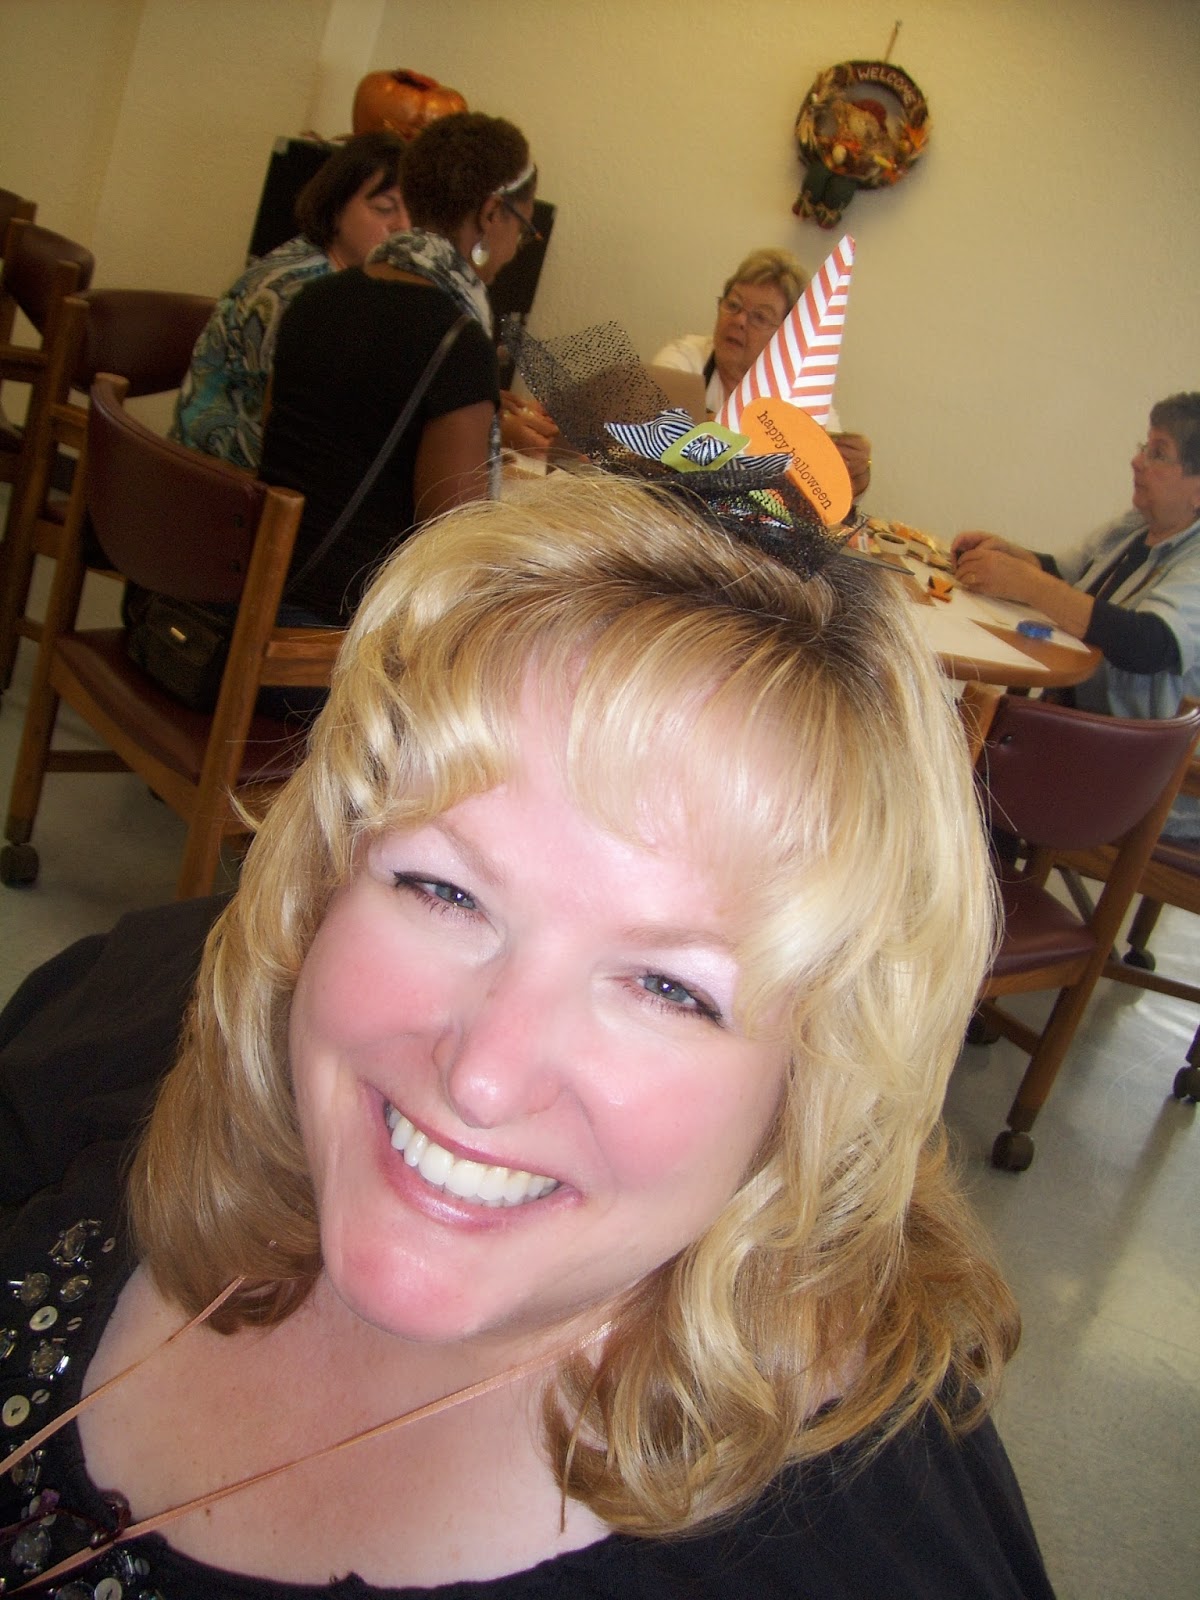
Kendra and Susie modeling their 
darling Witch Hats...


Laura and Robin viewing the display boards...


A Rose between Two Demonstrators!
That's Amy between PK2 and Lynette!
(standing in the lunch line outside)


True Sista's! Ruth & Pam


We had new caterers this year from La Taquiza serving us Street Tacos for lunch...
they hand rolled the fresh tortillas on site and grilled the meats as well
Talk about fresh!!!


Again huge thanks to everyone for attending
and especially to Wanda for allowing us to use these
awesome facilities!

Can't wait to see everyone again next year...
start spreading the word now!!!

Monday, November 4

Prize Patrol Winners!

Something new we did this year was conduct a Prize Patrol! Everyone received a particular color cardstock when they arrived. Then throughout the day a Prize Patrol was announced... the Prize displayed and then the winning color card stock selected... viola the winners!

Here's the bunch that won the adorable Journal Notebooks 
made by Lynette


a closer look at them on the display table:


PK1 made some fabulous stationary set packets,
included post-it notes holder with matching note cards and pen!
All wrapped up in this adorable cellophane packet.
Here's the lucky winners:


PK2 got so good at making "cylinder projects" with the Witches Hat,
that she made these cornucopia shape candy containers for her Prize Patrol give-aways
and here's those delighted gals who won:


This group of stampers got the Festive Flurries card packets that
Pam and Ruth created:


Here's those three projects on display:


Last week I showed you my Audrey Hepburn Classic Containers 
I had made for the Prize Patrol...
well, here's the Audrey winners:


Last but definitely not least, Wanda made some fantastic card packet sets in
absolutely beautiful containers....
you won't see these gals crying about being the last ones to win!


And here they are on display:


That was sooo worth the wait for those winners!

Friday, November 1

Happy Birthday David!!!

Happy Birthday David! What a day to celebrate! We love you and are so encouraged to see the man you've become.... an amazing son, wonderful husband and awesome daddy!

Another amazing thing is how the year has flown by once again and look at you.. doesn't look like you've aged one bit!

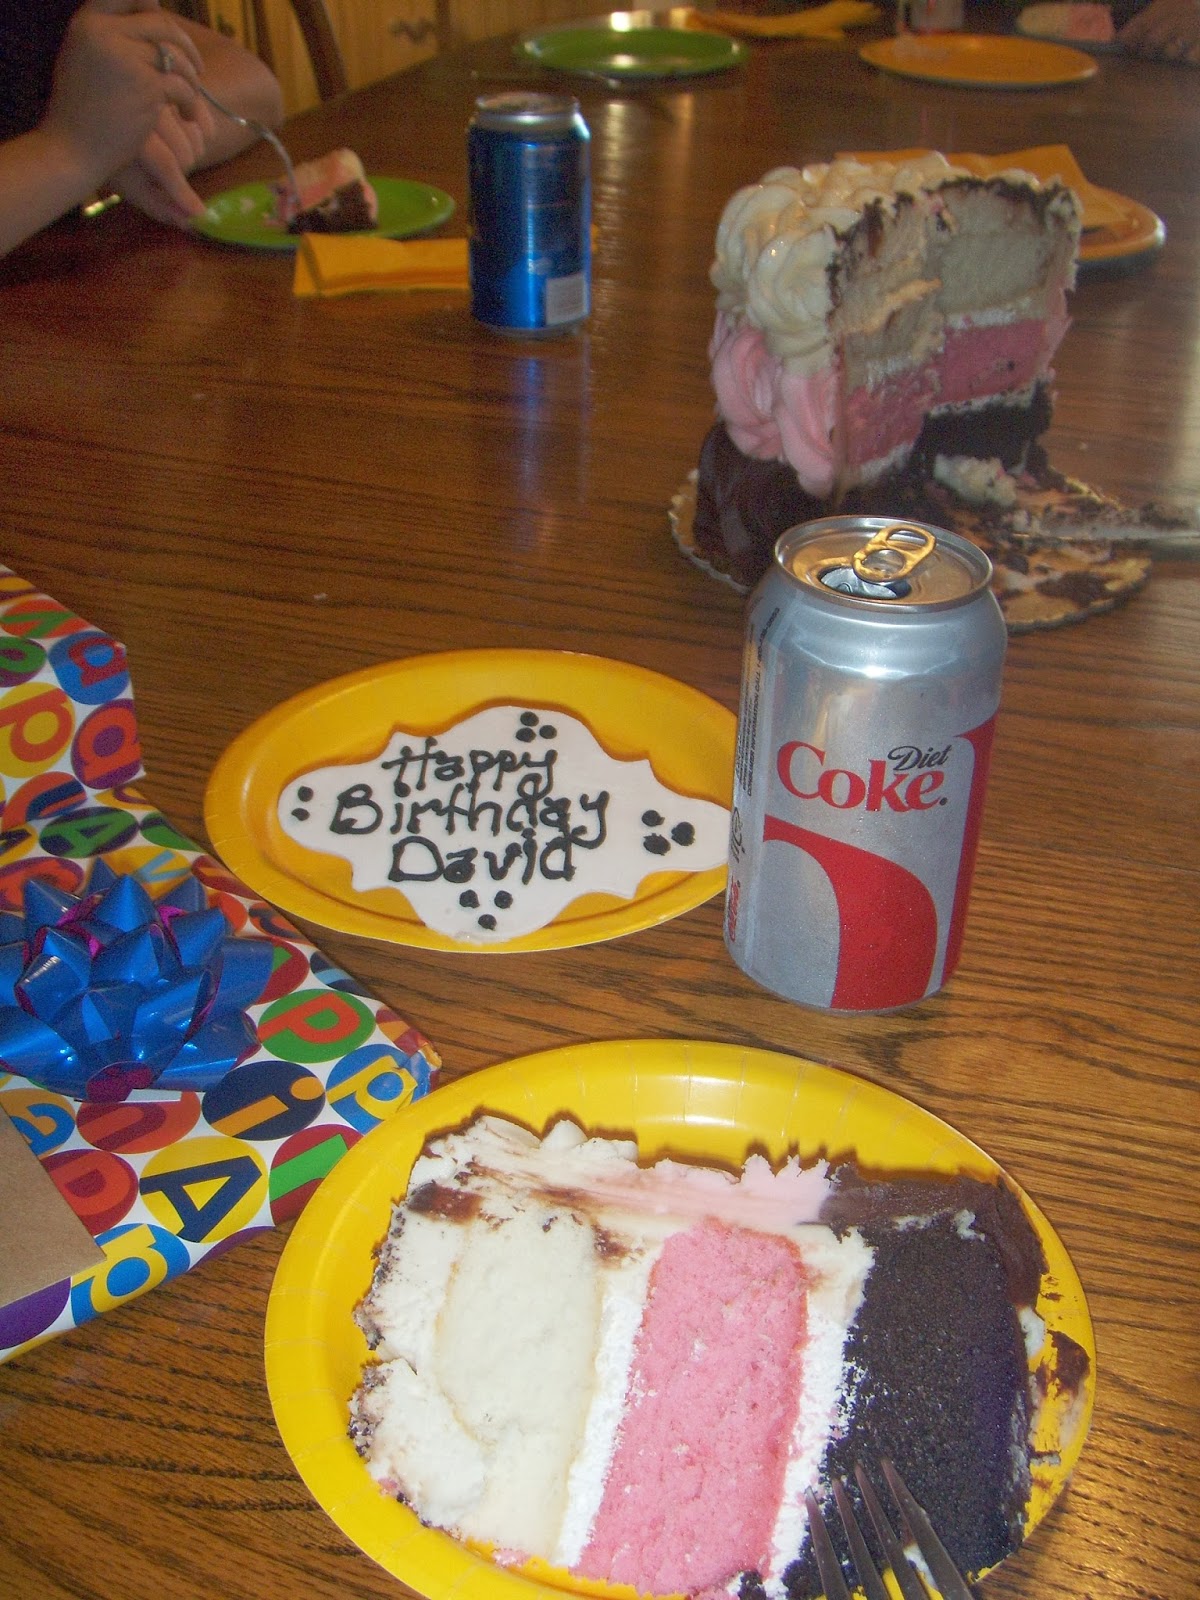
We had a fun celebration this past Sunday when DHB came for the evening to share some dinner and birthday cake together! Don & Darlene joined too as we also celebrated Don's belated birthday... well just by one day, so that wasn't too bad.... Here is the incredible cake they brought, Neapolitan layered cake.. chocolate strawberry and vanilla.. it was amazing!

 
David thought it was a little girly with the roses and glitter on it..
but we convinced him it's like us all, what's on the inside that counts!!!


This is my piece... right next to my Diet Coke...
gotta have balance in life, right?

 
I forgot to mention, when they arrived Brayden had fallen asleep in the car so we put him in bed to finish his nap.. he slept through dinner but somehow managed to wake up just intime for birthday cake!!! (ok to truth is we went and woke him up!)

 
Think he's still half asleep but working hard at getting the cake in...
even with "dracula" at his plate saying...
I want to bite your cake!!!! heeheehee


Jerry had a fun little gift for Brayden
(oops yes it was David's birthday but that's what happens!)
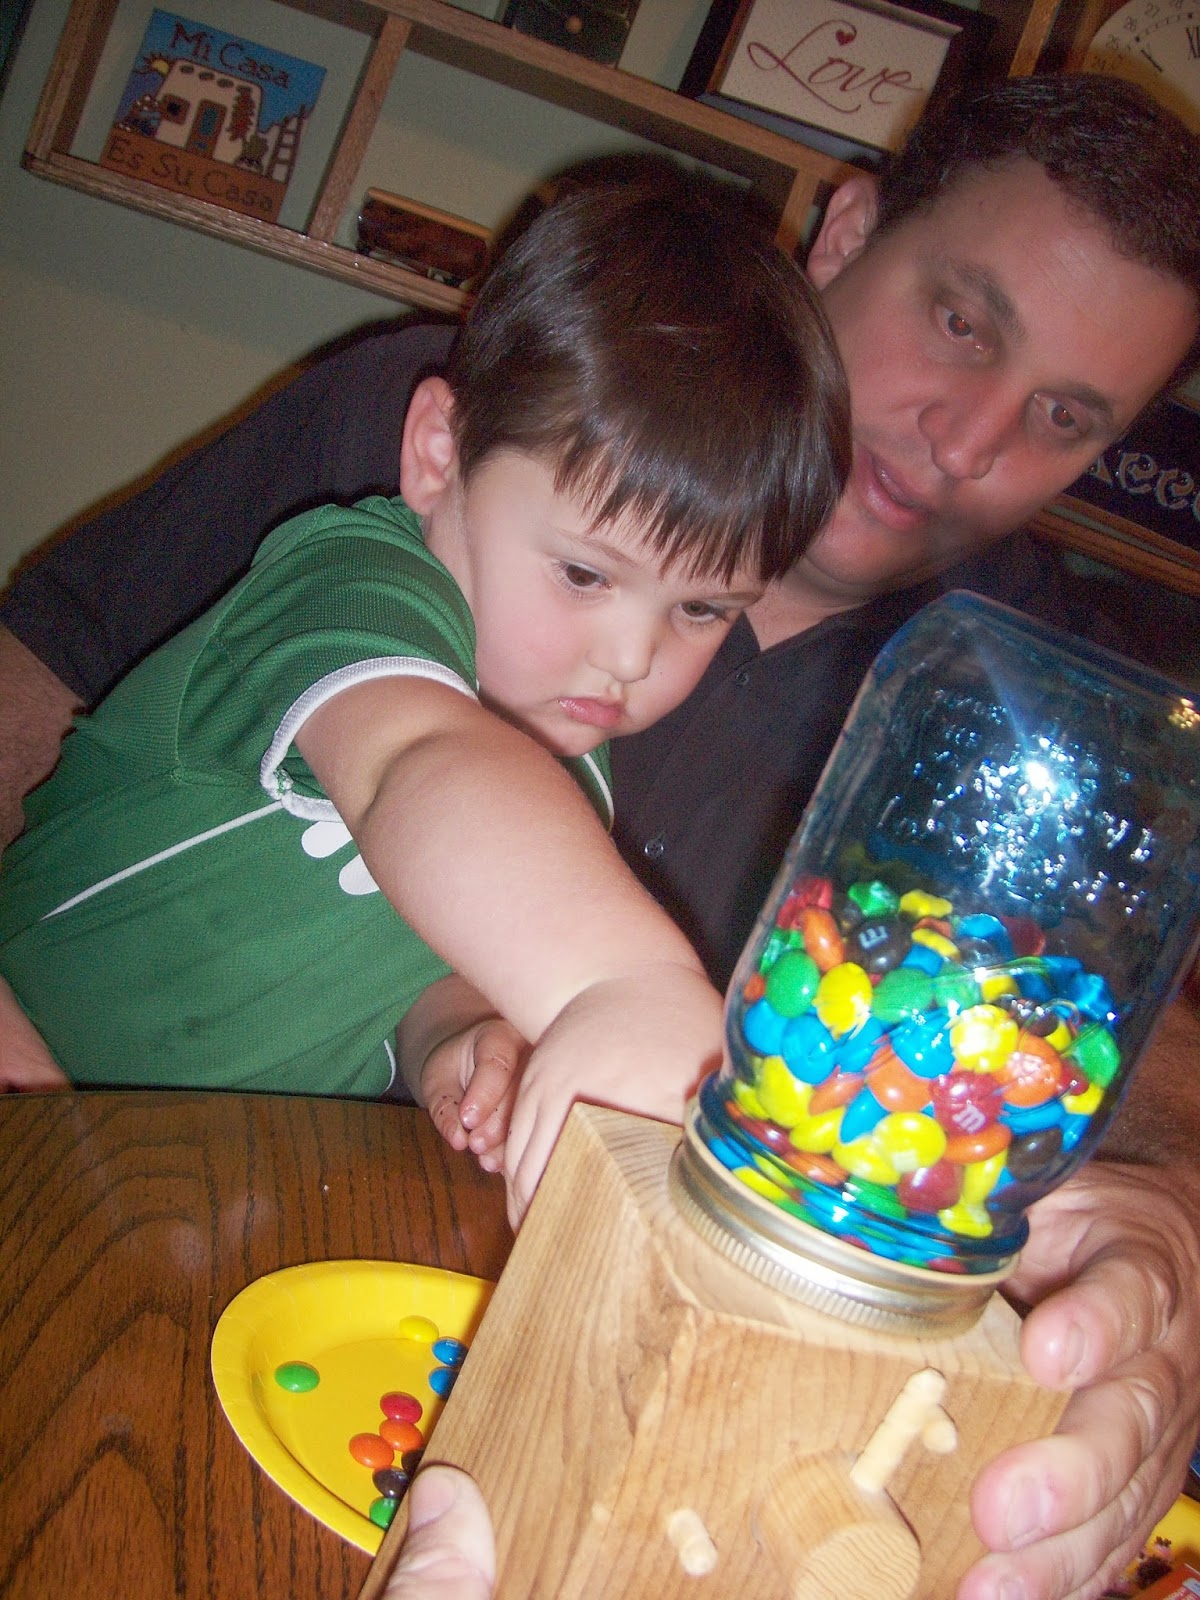
He made Brayden his own wooden gumball machine...
except put M&Ms in it instead..
Mason jar on top flipped over and attached to wooden base....


Best part is you dont have to put quarters in it!
Just crank and go!


That deserves a monster hug for Grandpa!


 Happy Birthday David!
We know Brayden really is your best gift of all!
 
xoxoxoxo
 
 ps - for those asking about the cake,
Holly got it at Cream de la' Cream in Corona... awesome bakery!