Wow... I found this cool website that has awesome decorating ideas!!! And check this out.... a hanging "Succulent Garden" made with pistachio shells... you'll go nuts (pardon the pun!)....

If you make one this big, you’ll need lots and lots of pistachio shells.
This is made with the shells from five or six 8-ounce bags of pistachios.
To make the flowers, start with three shells and glue them
together with your
hot glue gun like this…
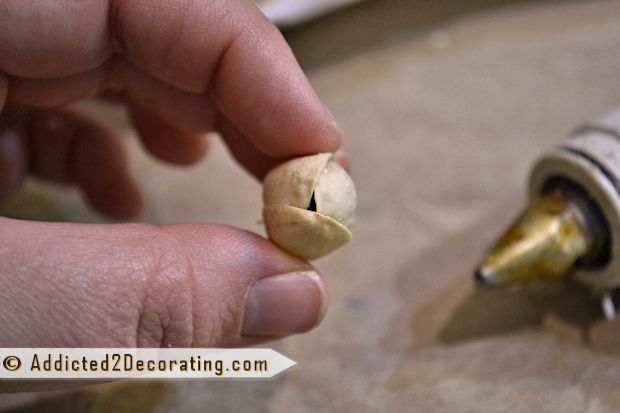
Now you’re going to start adding shells and
building out by gluing shells directly to that.
Just add hot glue around the bottom edge of the shell as
shown here.
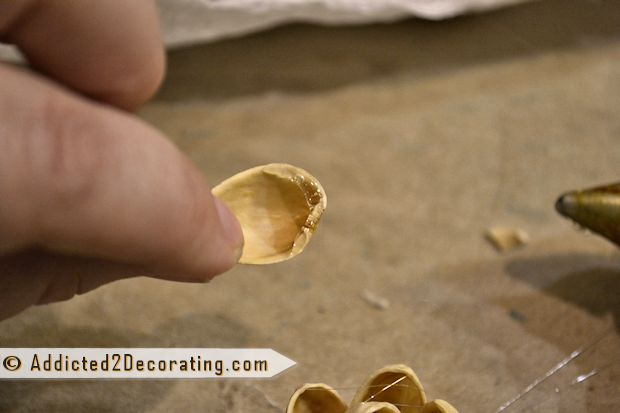
And then glue them to the first piece you made.
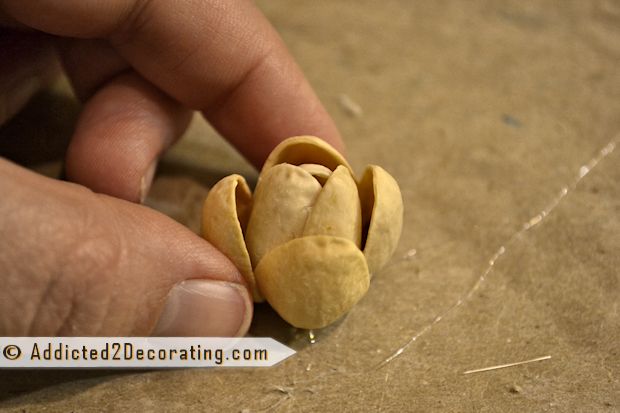
And basically, you just keep adding and building outward until you have a
flower that is the size you want it. So you’re not gluing the shells to a base
of any kind. You’re gluing the shells to each other.After making several flowers, I finally realized that it was easier to make
the middle section, and then add a dot of glue to the bottom and attach it to a
piece of wax paper.
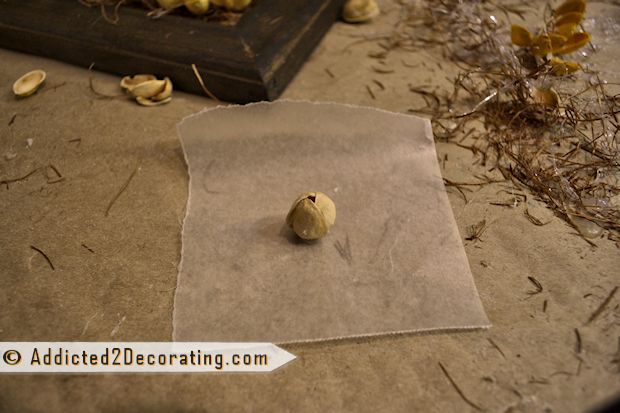
Then build the flower by turning the wax paper. This keeps your work surface
clear of any hot glue drips,
and keeps your flower from sticking to your work
surface. When the flower is complete, just rip off the wax paper from the
bottom.
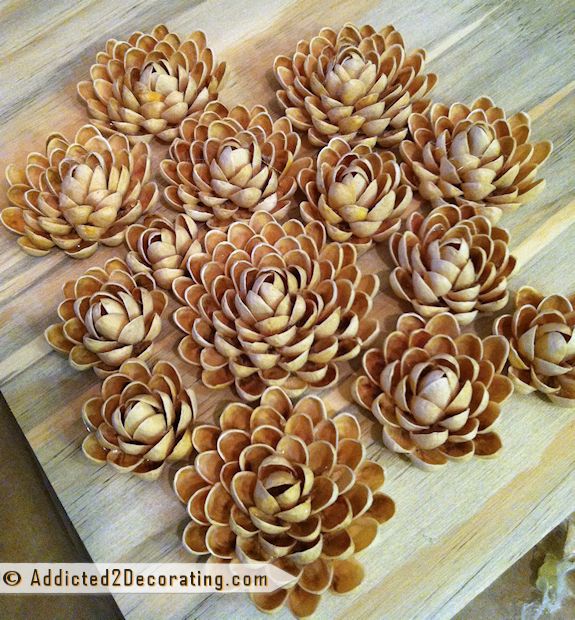
Your finished flower will look something like this…

Make as many as you need to fill up your “canvas”. I just used a piece of
1/4″ plywood for my “canvas”, and mine ended up being about 15″ x 17″. Of
course, it takes FOREVER to make that many flowers, so just be aware of that.
This is a good project to spread out over a few days, and just make a couple of flowers each night while you watch your favorite show on TV.
When all of your flowers are made and the glue is completely cooled, the
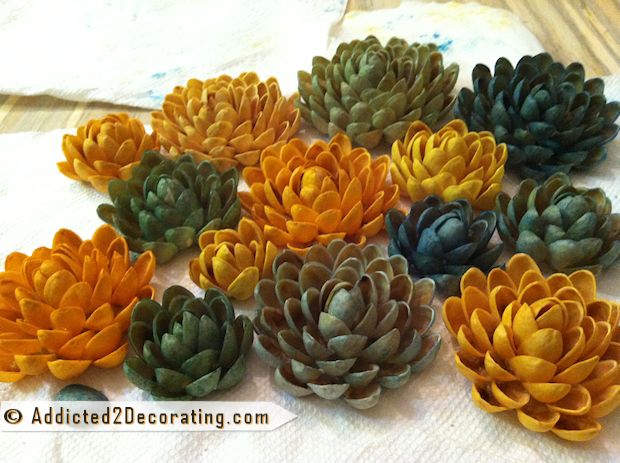
flowers are ready for their dye bath. I used powdered Rit fabric dye in four
different colors, and I left the flowers in at varying lengths of time.
Obviously, the longer you leave them in, the more saturated the color. I did
have a couple of shells detach during their bath, but that didn’t happen much.
My flowers stayed pretty well intact during their dye bath.

My flowers that are very light in color were left in about 30 seconds, and
then turned upside down on paper towels for about 20 seconds, and then turned
over (right side up) and misted with a spray bottle filled with water. The ones
that are more saturated were left in the dye bath for about three to five
minutes, and then placed upside down on a paper towel for the excess to drip
off, but I didn’t mist those with water since I didn’t want the color to get
diluted.
You can see the difference in this picture below. The flower on the top row
on the right is dyed with the same teal dye as the flower on the bottom row
second from the right. The difference was the amount of time, and the water
misting that the light one got after its dye bath.
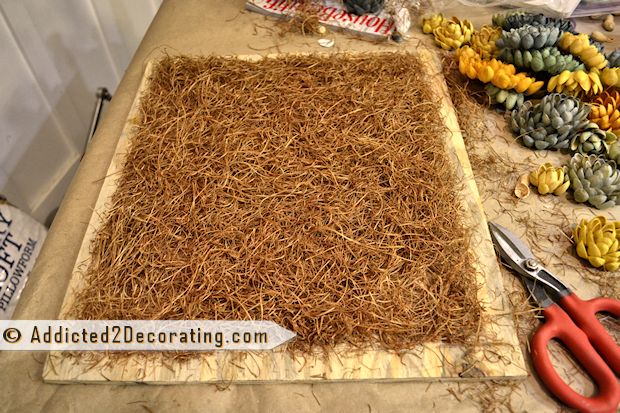
With all of your flowers finished, prepare your “canvas” by gluing the
backing of your choice. I used this light brown moss stuff that I got from
Michael’s. Be sure to leave the edges free since those will fit into your
frame.
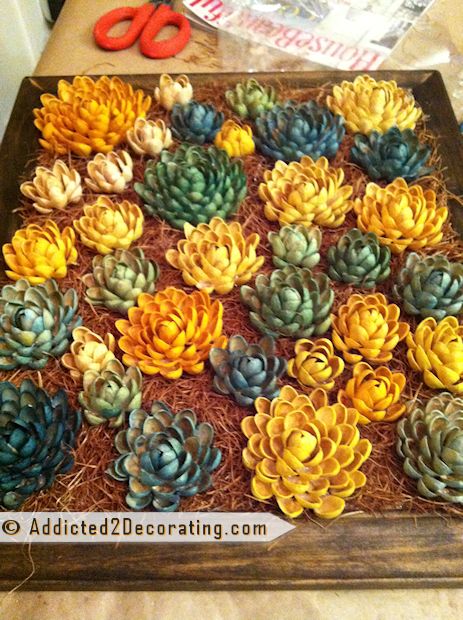
Now go ahead and put the frame on (I just made a very simple frame from
moulding I found at Home Depot, and then stained it with Minwax Dark Walnut
stain), and begin arranging your flowers.

As you do this, you might find that there are holes that need to be filled.
I ended up having to make four additional small flowers (in the top left corner)
to fill empty space.
Then you’re ready to hang your garden. Because I wanted to hang mine on the
front door like a wreath, and because I love big loopy, saggy bows, I cut strips
from an extra canvas drop cloth, and dyed it with some of the leftover yellow
dye that I had used for the flowers.
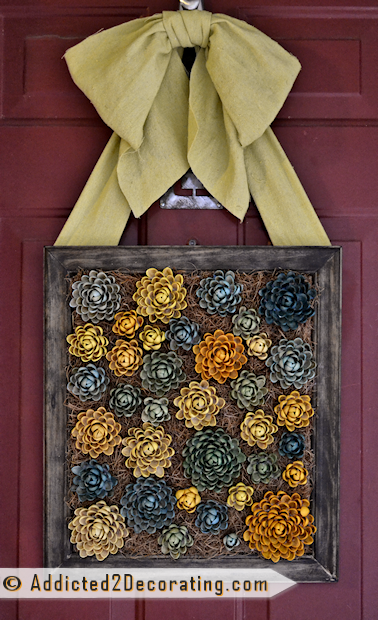
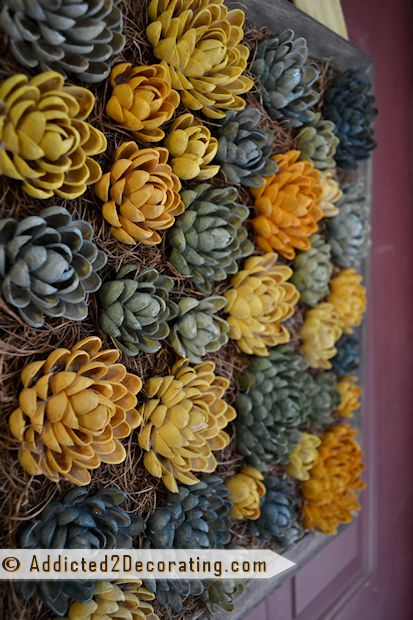
I just love these little flowers. At a glance, they really do look like they
could be real succulents (which I realize aren’t flowers)…until you realize that
these succulents don’t come in bright orange, teal, and yellow.
And my green is even off. But that’s okay.
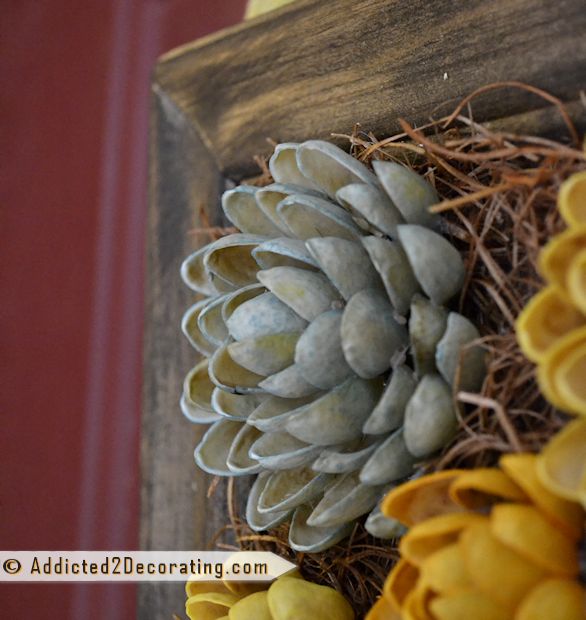
This one is my absolute favorite. It got a bath in the teal dye for about 30
seconds, and then got a pretty good shower with the spray bottle. I love the
subtle aqua color.
I’m very pleased with how my little “succulent garden” turned out.
The best
thing is that you won’t be able to kill this one!!
That’s the best kind of garden
ever!

No comments:
Post a Comment